Hey there, fellow small-space dwellers! We all know the struggle - trying to make our tiny apartments feel big and stylish. It's a constant battle against clutter and lack of space. But what if I told you there's a way to add a touch of personality and practicality without sacrificing precious square footage?
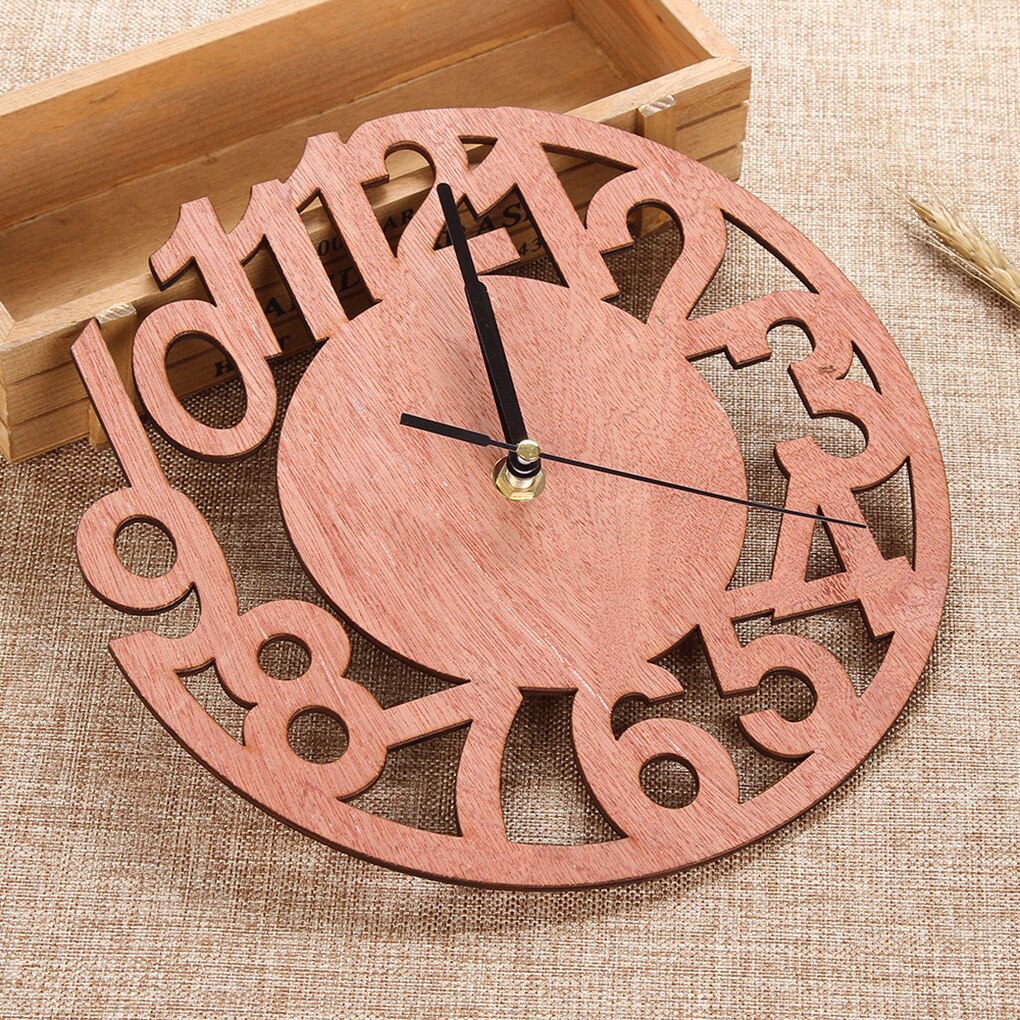
Enter the DIY wooden clock! It's a project that's easy enough for beginners, looks amazing in any apartment, and can be customized to fit your unique style. Plus, it's a perfect way to add a bit of warmth and handmade charm to your space.
Let's Get Started!
First things first, you'll need to gather your supplies. Don't worry, you don't need to be a woodworking expert to make this happen. Here's what you'll need:
A Circular Clock Mechanism: These are readily available online and at most craft stores. You can find them in different sizes, so choose one that fits your design.
Wood: Choose a piece of wood that's sturdy and looks good. You can use plywood, MDF, reclaimed wood, or even an old cutting board! Get creative!
Saw: A circular saw, jigsaw, or even a handsaw will do the trick.
Sandpaper: You'll need various grits to smooth out your wood.
Wood Stain or Paint: This is where you get to add your personal touch.
Clock Hands: These come in different styles, from simple to elaborate, so choose what complements your clock design.
Drill and Drill Bits: You'll need these to drill holes for the clock mechanism and hands.
Hot Glue Gun: This will help you secure the clock hands to the mechanism.
Pencil: For marking your cuts and design.
Ruler or Measuring Tape: To ensure your measurements are precise.
Time to Design:
Now, let's get into the fun part - designing your clock! Think about the style you want to achieve. Do you prefer a rustic farmhouse look, a modern minimalist vibe, or maybe something bold and geometric? Here are a few ideas to get your creative juices flowing:
Geometric Shapes: Cut out a clock face from wood in a circular, square, or even hexagonal shape. You can even combine different shapes for a unique look.
Distressed Wood: Embrace the imperfections of wood by using reclaimed wood with knots and grain patterns. Leave the edges rough for a more natural look.
Painted Accents: Paint a simple background for your clock face, and then add decorative elements like stripes, dots, or even a floral design.
Personalized Design: Add a quote, a favorite image, or even your initials to make your clock truly special.
The Cutting Process:
Once you have your design in mind, it's time to start cutting the wood. If you're working with a piece of wood that's already the right size, skip this step. But if you need to cut your wood to size, be sure to use a saw with a sharp blade to make clean, accurate cuts.
Sanding Away:
After cutting, it's essential to sand your wood to create a smooth, even surface. Start with a coarse grit sandpaper to remove any rough edges, then work your way up to a finer grit for a polished finish. Sanding is important not only for aesthetics but also for a good paint or stain application.
Adding Color:
Now comes the fun part! Add your desired color or stain to your clock face. You can choose a solid color, use multiple colors, or even apply a layer of stain for a natural wood look. Let the paint or stain dry completely before moving on to the next step.
Installing the Mechanism:
Once your clock face is prepped, it's time to install the clock mechanism. Follow the instructions provided with your mechanism. Typically, you'll need to drill a hole in the center of your clock face to fit the mechanism. Then, secure the mechanism using the screws provided.
Attaching the Hands:
Finally, you'll need to attach the clock hands to the mechanism. Again, follow the instructions provided. You'll typically need to use a small tool to attach the hands. You can experiment with different hand styles to find what best suits your design.
Hanging Your Timepiece:
Now, your clock is ready to be admired! You can hang it on the wall using a hook or even use a sawtooth hanger attached to the back of the clock.
Tips for a Perfect Clock:
Choose a clock mechanism that fits your design: Make sure the size and style of the mechanism complement your clock face.
Practice your cuts before committing to the final piece: If you're unsure about your cutting skills, practice on scrap wood first.
Don't be afraid to experiment with different finishes: Try different paints, stains, and even decoupage techniques to achieve your desired look.
Personalize it! Add your own unique touches to make your clock truly yours.
Clocking Out:
Creating a wooden clock for your small apartment is a fun and fulfilling project. Not only will it be a unique and stylish addition to your space, but it will also be a reminder of your creativity and craftsmanship. So, grab your tools and start building your own masterpiece!


No comments:
Post a Comment
Note: Only a member of this blog may post a comment.