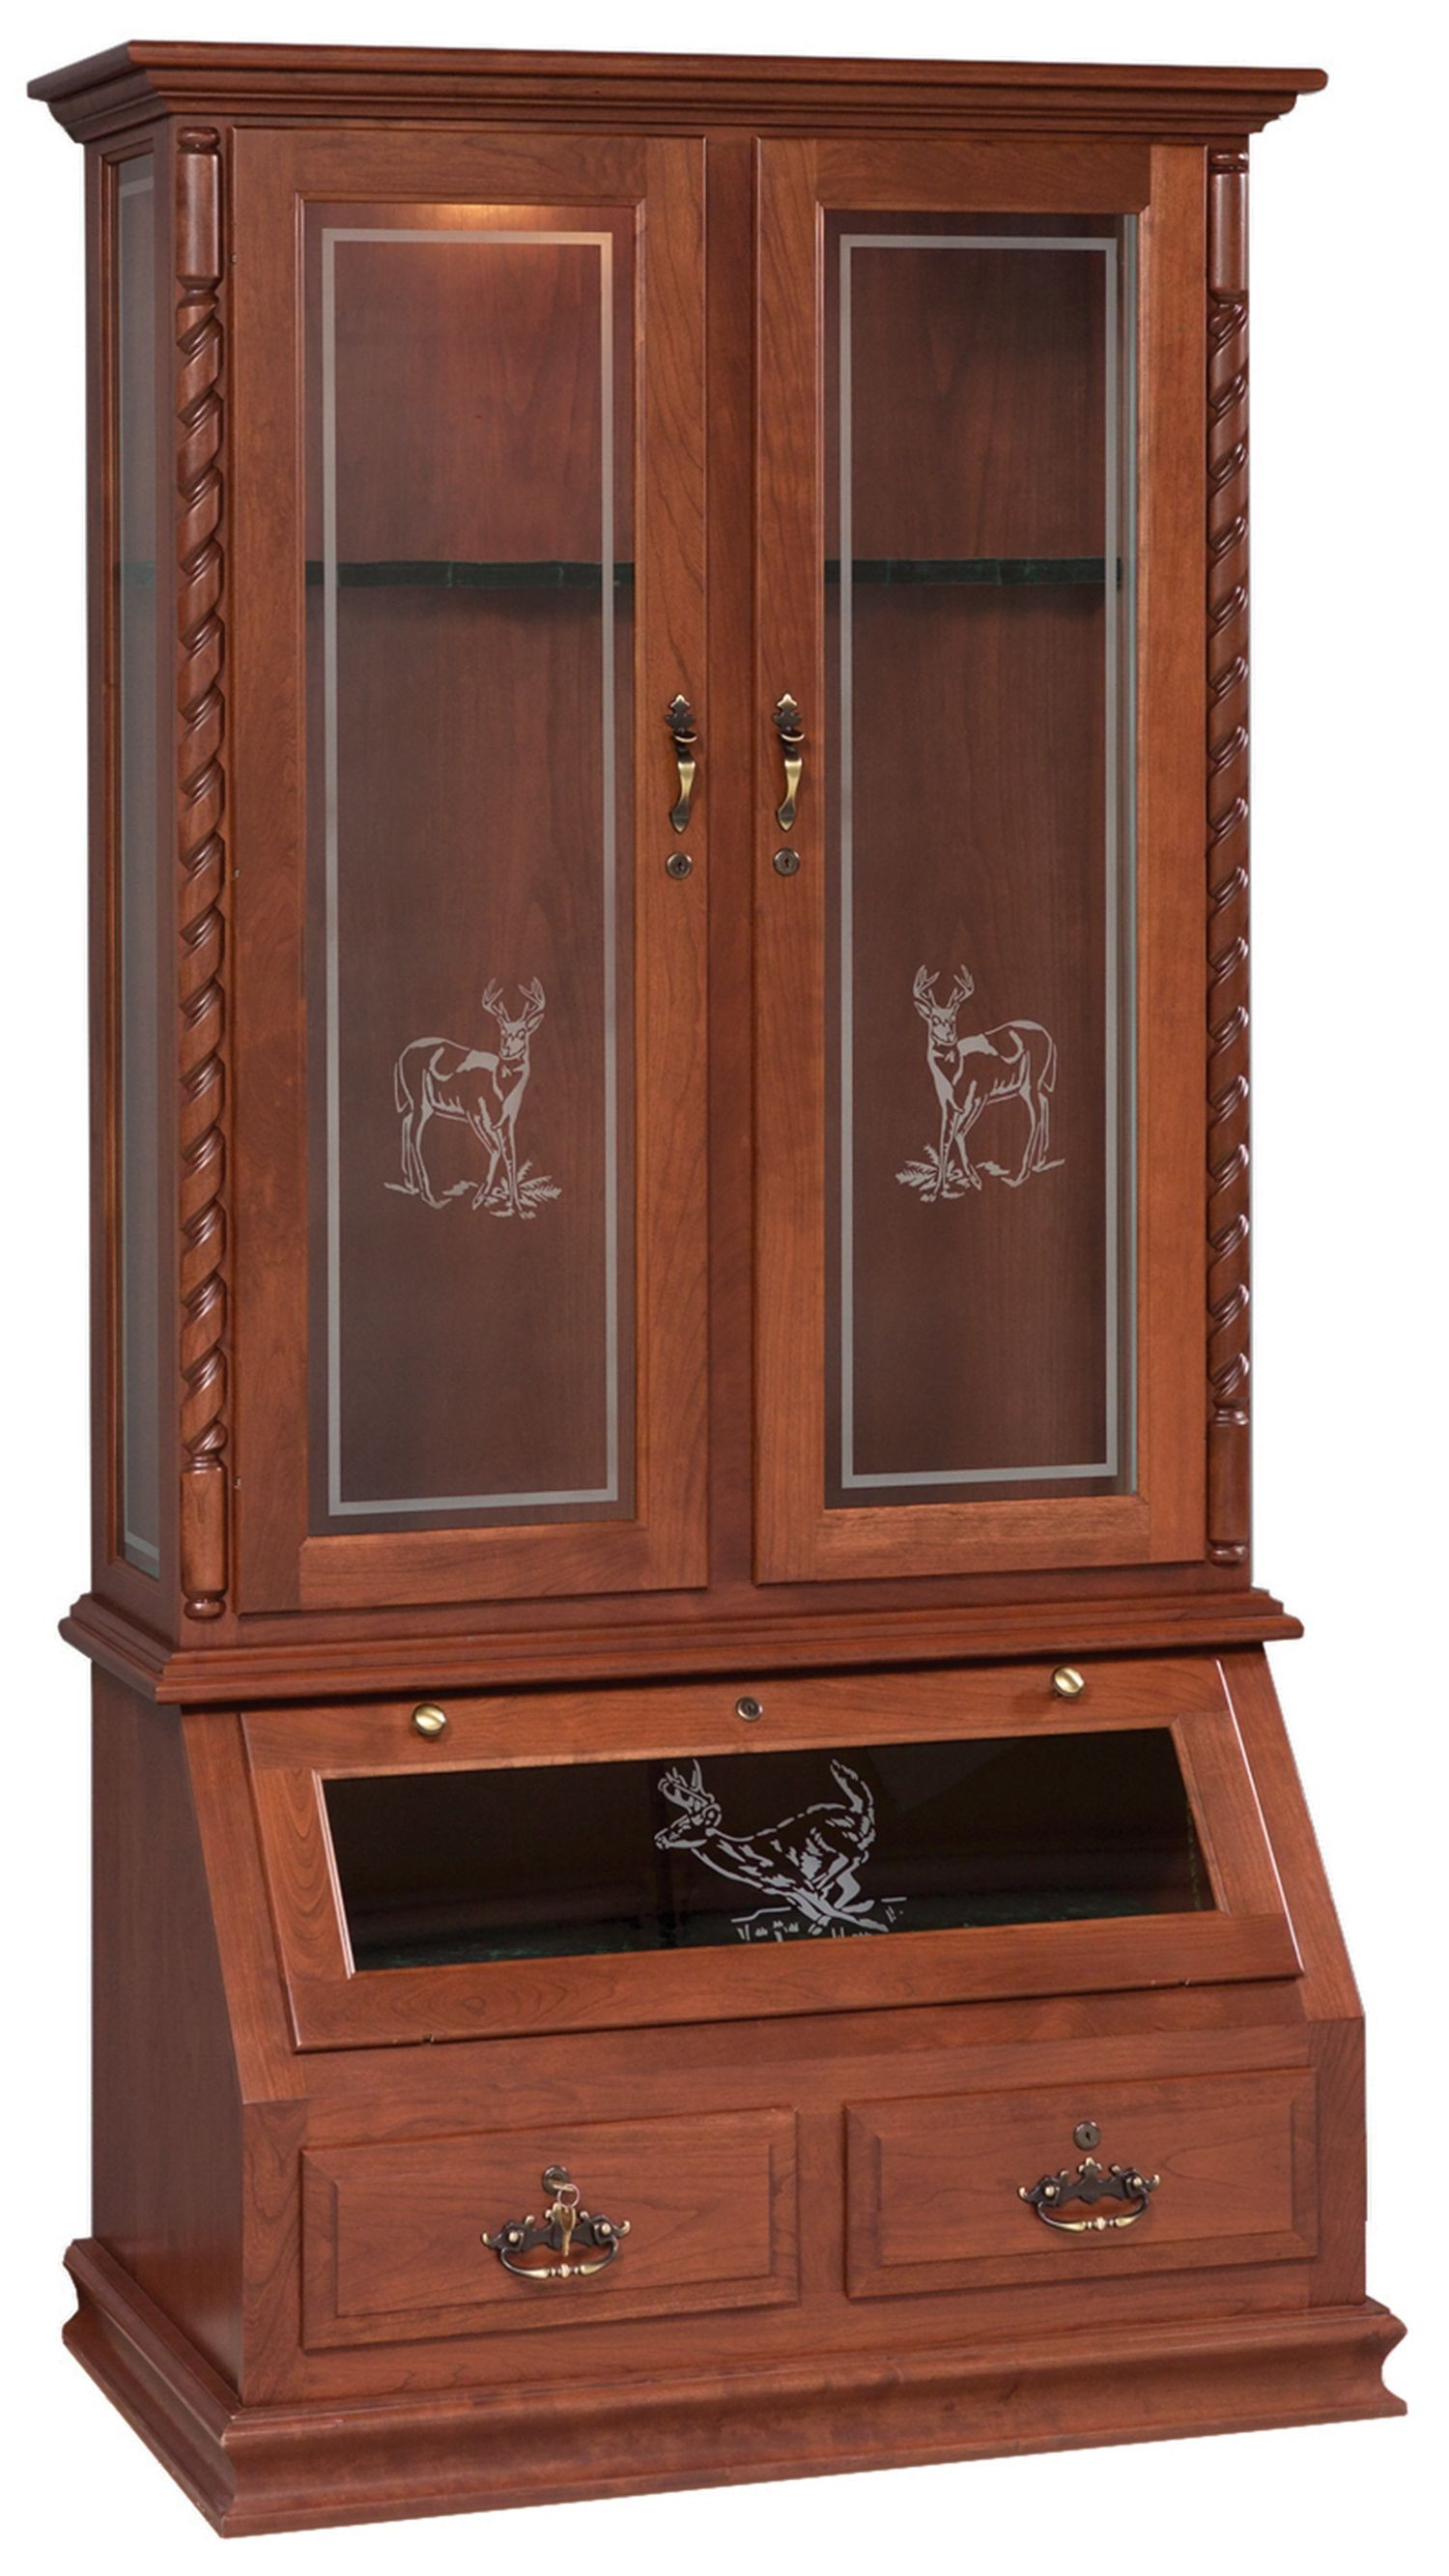
A gun cabinet is more than just a storage unit; it's a testament to responsibility, a symbol of tradition, and a safeguard for your treasured firearms. Building your own wooden gun cabinet allows you to express your personal style while creating a secure and aesthetically pleasing piece for generations to come. This comprehensive guide will walk you through the process, from design to finishing, ensuring you craft a cabinet that is both beautiful and secure.
Part 1: Design and Planning
1. Define Your Needs:
Firearm Collection: Determine the size and type of firearms you need to store, considering length, weight, and any special features.
Storage Requirements: Decide on the number of shelves, compartments, or drawers needed to organize your collection.
Aesthetics: Choose a style that complements your decor, whether it's classic, modern, or rustic.
Security Features: Prioritize safety with sturdy construction, secure locking mechanisms, and potentially fire-resistant materials.
2. Create a Blueprint:
Dimensions: Accurately measure the space you have available for the cabinet and sketch your design to scale.
Material Selection: Choose suitable wood species for strength and beauty. Hardwoods like oak, cherry, and walnut offer durability and rich grain patterns. Softwoods like pine can also be used for less demanding projects.
Hardware: Select hinges, latches, locks, and shelf supports that meet your security and aesthetic preferences.
Construction Method: Determine whether you will use traditional joinery techniques like mortise and tenon, or modern methods like pocket holes or dowel construction.
3. Gather Materials and Tools:
Wood: Purchase lumber according to your blueprint, ensuring the boards are straight and free of knots.
Hardware: Order hinges, locksets, shelf pins, and other necessary hardware.
Woodworking Tools: Assemble your tools, including a table saw, chop saw, drill press, router, sander, and clamps. Safety gear like gloves, goggles, and a dust mask are essential.
Part 2: Construction
1. Building the Cabinet Base:
Cutting the Panels: Accurately cut the base panels to your dimensions, ensuring square cuts.
Creating Joinery: Select your preferred joinery method to secure the base panels. Mortise and tenon joints offer strength and elegance, while pocket holes and dowels provide stability.
Assembling the Base: Carefully assemble the panels using glue and clamps, allowing sufficient drying time.
2. Constructing the Sides and Back:
Cutting and Joining: Cut and join the side and back panels using the same techniques as the base.
Adding the Base: Secure the assembled base to the sides and back, ensuring level and alignment.
3. Creating the Top and Shelves:
Cutting and Joining: Cut and join the top panel and shelf boards following the same techniques.
Adding Shelving: Attach the shelves to the sides using shelf supports or shelf pins, ensuring even spacing and stability.
4. Integrating Security Features:
Door Construction: Cut and join the door panels, using strong hinges for secure attachment.
Lock Installation: Choose a high-quality, multi-point lock system for maximum security. Consider installing a secondary lock for added protection.
Reinforcements: Include metal plates or brackets for extra support around the lock area.
5. Finishing Touches:
Sanding: Thoroughly sand the cabinet, starting with coarser grit sandpaper and gradually moving to finer grits.
Finishing: Choose a finish that suits your style and wood. Options include stains, paints, varnishes, and polyurethanes. Apply multiple coats for durability and protection.
Hardware Installation: Install the hinges, locksets, and any decorative hardware.
Part 3: Finishing Touches and Beyond
1. Adding Personal Touches:
Customization: Incorporate personal touches such as decorative trim, molding, or carvings.
Inlays: Utilize contrasting wood species or metal accents to enhance the cabinet's aesthetic appeal.
Lighting: Install LED lights inside the cabinet for better visibility and a dramatic effect.
2. Maintaining Your Gun Cabinet:
Regular Cleaning: Dust the cabinet regularly to prevent buildup.
Moisture Control: Store your cabinet in a dry environment to avoid warping or damage.
Lock Maintenance: Lubricate the lock mechanism and inspect it for wear periodically.
3. Safety and Security:
Fire Safety: Consider installing a fire-resistant liner or storing fire-resistant materials inside the cabinet for added protection.
Gun Safety: Always handle firearms responsibly and observe all local laws regarding storage and use.
Conclusion:
Building a wooden gun cabinet is a labor of love that combines craftsmanship with safety. By carefully following these steps, you can create a beautiful and secure piece that will safeguard your firearm collection while becoming a cherished family heirloom. Remember to prioritize safety throughout the process and take pride in crafting a legacy that will last for generations.


No comments:
Post a Comment
Note: Only a member of this blog may post a comment.