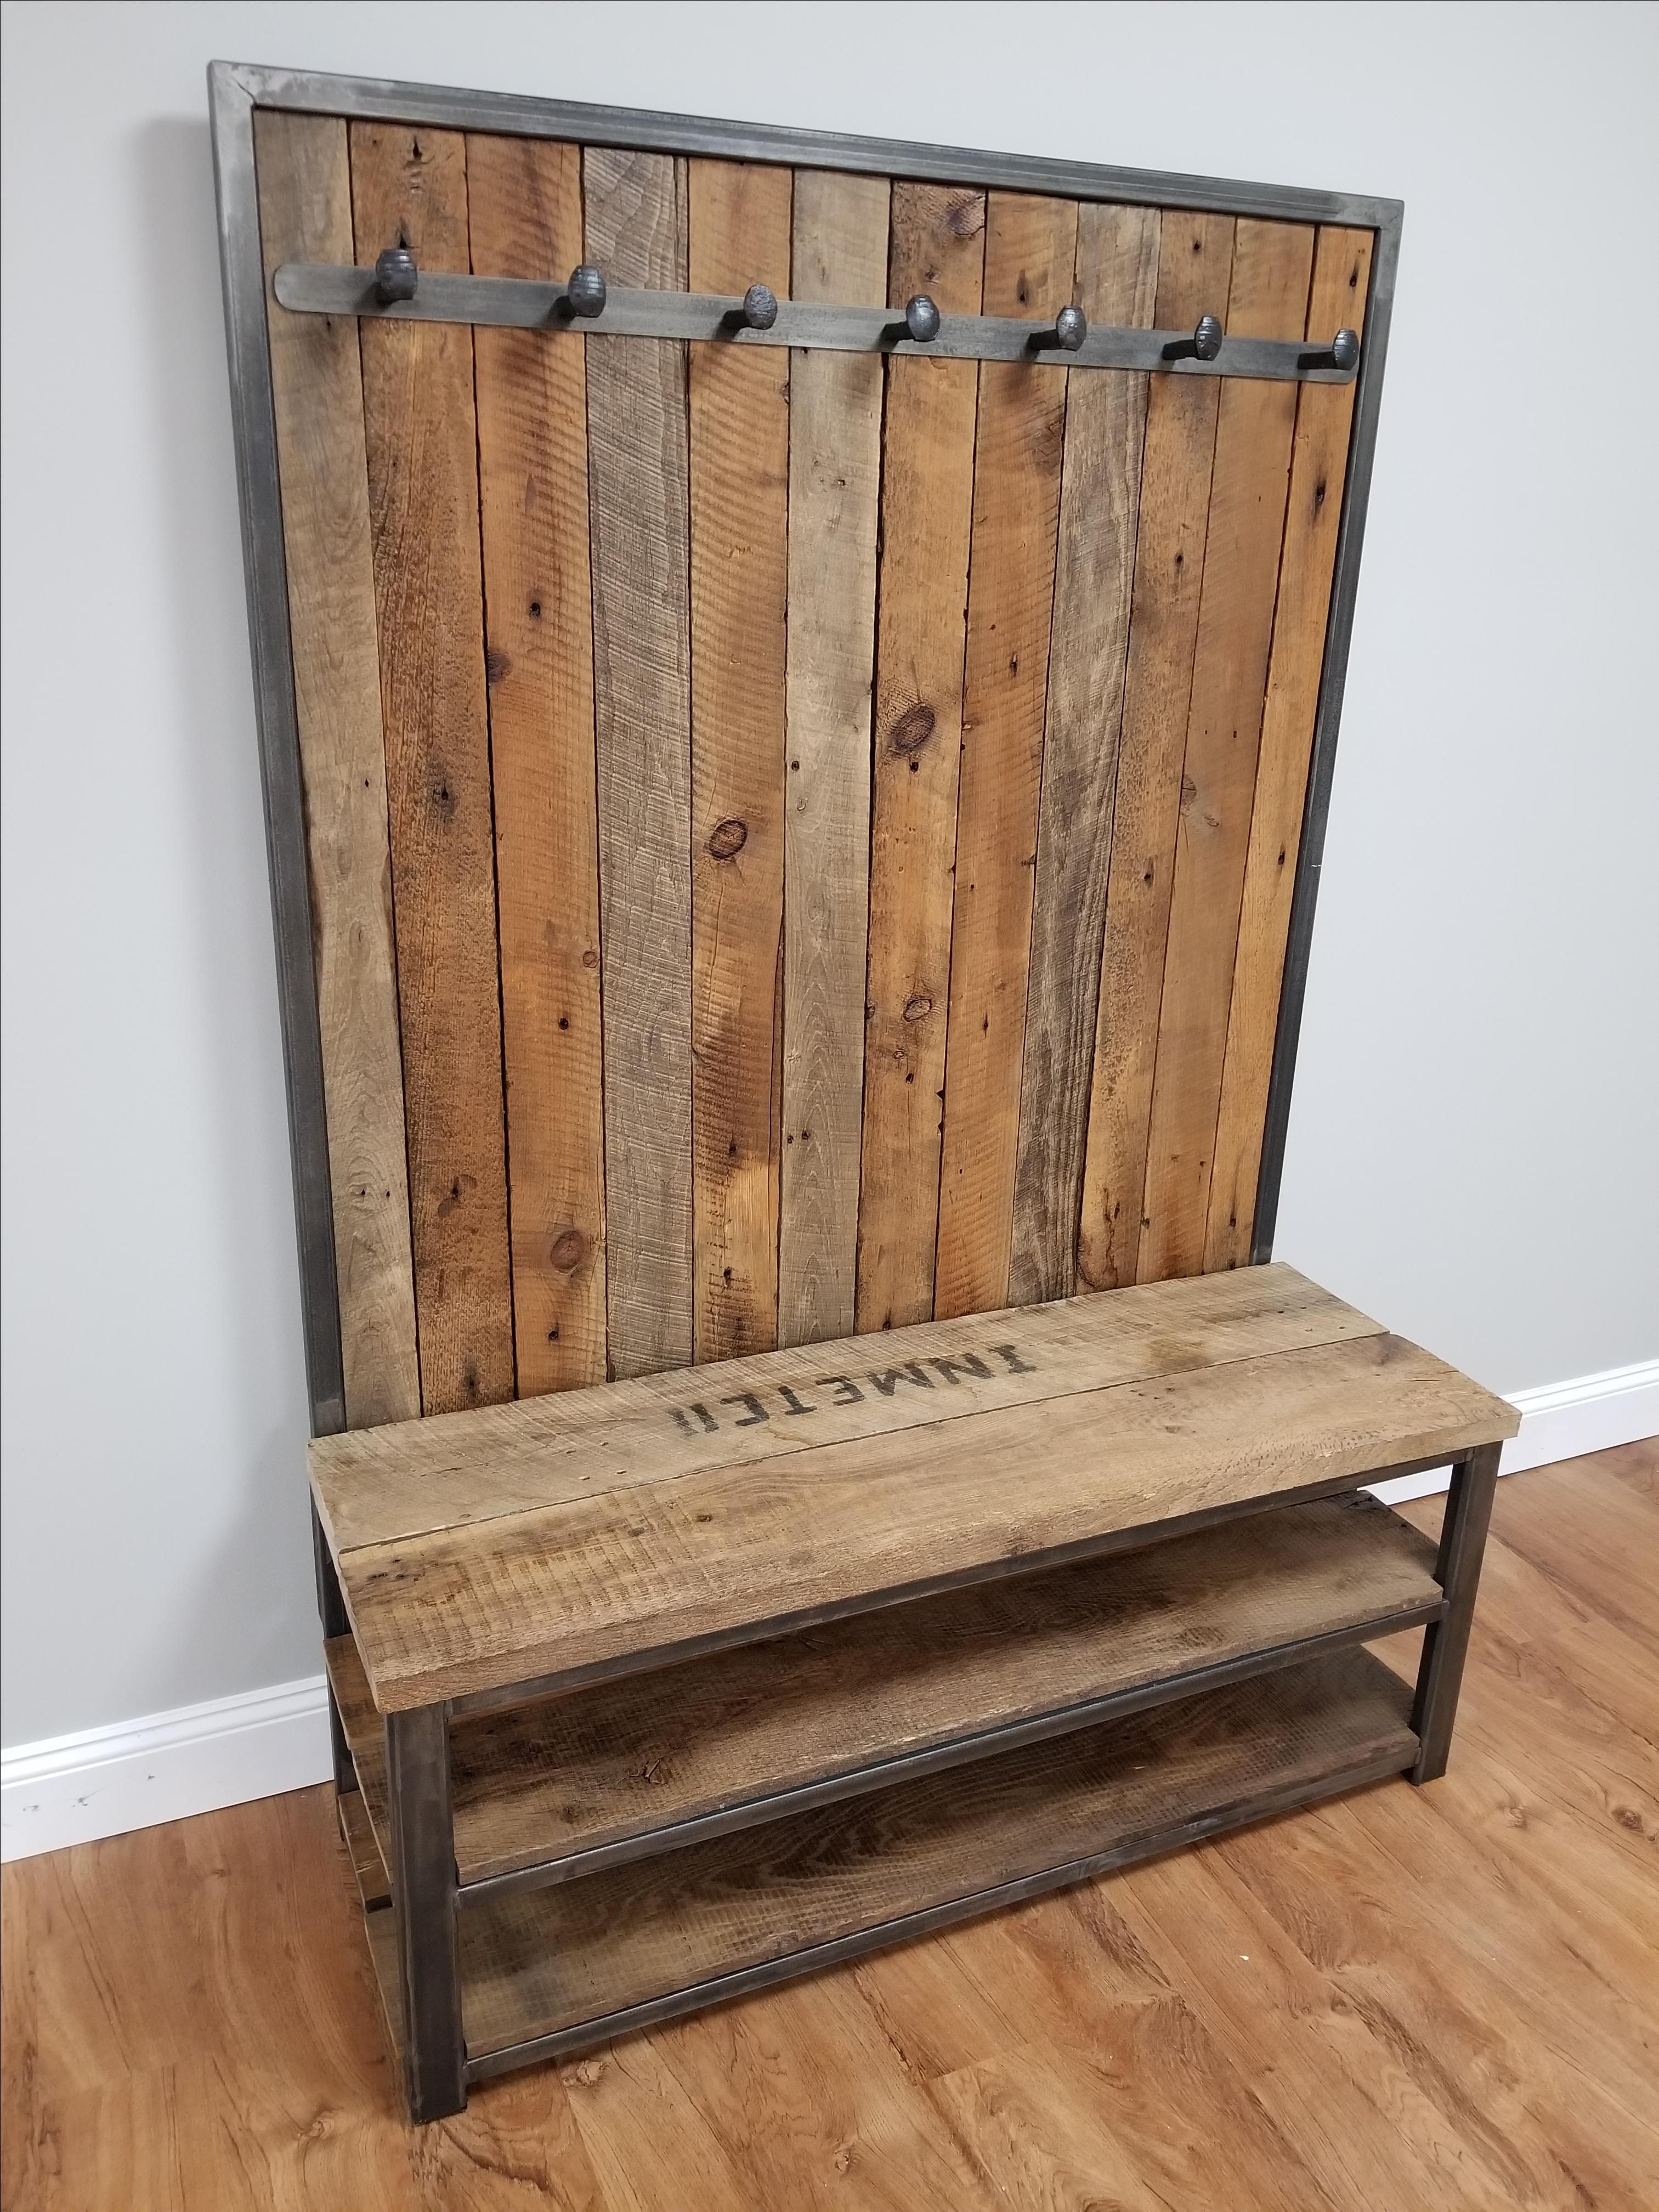
Hey there, fellow home decor enthusiast! Tired of that generic, flimsy coat rack that's been hanging in your entryway since… well, forever? Let's face it, sometimes the most satisfying DIY projects are the ones that make your home feel more like you.
Today, we're diving into a super simple, super satisfying project that'll upgrade your entryway game: Building your own wooden coat rack! No need to be a seasoned woodworker, even a beginner can tackle this project. Trust me, the only thing you'll need is a little patience, some basic tools, and a heaping dose of enthusiasm.
Let's break down the project, step-by-step:
### 1. Gather Your Supplies:
First things first, let's gather our tools and materials. We'll need:
Wood: The heart and soul of our project. Choose a nice, sturdy piece of wood, preferably hardwood for durability. You can opt for a single board or go for a more rustic look with reclaimed wood. Think about the style of your entryway and choose accordingly!
Wooden Dowels: These will be your coat hangers. You can find them in various lengths and diameters at most hardware stores.
Wood Glue: A strong bond is key!
Wood Screws: For attaching the dowels to the wood base.
Measuring Tape: For accurate cutting and placement.
Saw: A jigsaw, circular saw, or even a hand saw will work just fine.
Drill: To create pilot holes for the screws.
Sandpaper: For smoothing rough edges and achieving a polished finish.
Finishing Touches: This is where you get to unleash your creativity! Consider wood stain, paint, or even some decorative hardware to add your personal flair.
### 2. Planning Your Design:
Now, for the fun part! Let's brainstorm some design ideas. Do you want a simple, rectangular rack, or something a little more unique?
Shape: Think about how you want the rack to fit into your entryway. A long, narrow rack might work best in a small space, while a wider, more elaborate design could complement a larger foyer.
Number of Dowels: Consider the number of coats you need to hang. A few dowels can work for smaller households, while a larger family may need a rack with more hanging space.
Dowel Placement: Spacing your dowels strategically can create visual appeal and ensure that each coat hangs comfortably.
### 3. Cutting and Assembling the Base:
Once you've decided on your design, it's time to cut and assemble the base of your coat rack.
Measure and Cut: Carefully measure and cut the wood to your desired size, ensuring your measurements are accurate.
Drilling Pilot Holes: Before attaching the dowels, drill pilot holes into the wood base. This will help prevent the wood from splitting when you screw in the dowels.
Attaching the Dowels: Secure the dowels in place with wood glue and screws, ensuring they're centered and level.
### 4. Sanding and Finishing:
Time to give your coat rack a polished look!
Sanding: Sand the wood surface thoroughly with sandpaper to create a smooth, even finish. Sanding is key for achieving a polished look and getting rid of any imperfections.
Finishing Touches: Now it's time to unleash your creativity! Apply wood stain for a warm, natural finish, or paint the rack with your favorite color. You can also get creative with decorative hardware like hooks or knobs.
### 5. Mounting and Enjoy!
Once you're happy with the finish, it's time to mount your masterpiece!
Mount Your Rack: Choose a suitable wall location in your entryway and use appropriate mounting hardware. You can opt for a simple wall-mount installation, or get creative with a more elaborate mounting system.
Add Some Personal Touches: Dress up your new coat rack with some personal touches, like a small plant, a framed photograph, or a decorative bowl for keys.
Tips for Success:
Measure Twice, Cut Once: This old saying holds true for woodworking! Take your time with your measurements to ensure everything fits perfectly.
Don't Be Afraid to Experiment: This is your chance to create something unique! Get creative with your design, materials, and finishing touches.
Embrace Imperfections: Handmade items often have a bit of character, and those imperfections are part of what makes them special.
Now, sit back, admire your handiwork, and enjoy your new, personalized entryway coat rack! It's a piece that reflects your style and adds a touch of charm to your home. And you know what? Building it yourself feels incredibly rewarding. It's a DIY project that's not only functional but also a testament to your creativity and craftsmanship.
So, what are you waiting for? Gather your supplies, grab your tools, and get ready to build a coat rack that you'll be proud to showcase! And hey, if you encounter any bumps along the way, don't hesitate to reach out for help! The DIY community is always happy to lend a hand.


No comments:
Post a Comment
Note: Only a member of this blog may post a comment.