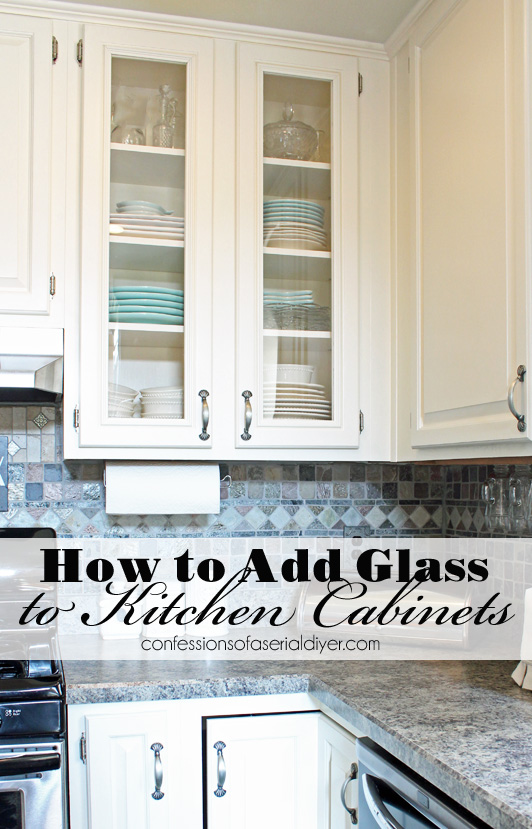
Alright, you want to build a gun cabinet with glass doors? Awesome! It's a great project, and you'll get a real sense of accomplishment when you're done. Plus, you'll have a custom-built piece of furniture that's both functional and stylish.
But before you get started, let me tell you, it's not a weekend project. Building a cabinet, especially one with glass doors, takes time and skill. You'll need some basic woodworking knowledge, a few tools, and a good dose of patience.
Ready to dive in? Let's break it down step by step.
First Things First: Planning Your Cabinet
Think about what you want your cabinet to look like and how you want to use it.
Size: How many guns are you planning to store? Do you want a tall, narrow cabinet, or a wider one? Think about the space you have available.
Style: Do you want a traditional, modern, or rustic look? Choose a style that fits your home's décor.
Features: Do you want shelves, drawers, or a built-in lockbox? These features can make your cabinet more functional.
Glass: What kind of glass do you want? Clear, frosted, or tinted? Will you use regular glass, or something more durable like tempered or bullet-resistant glass?
The Tools You'll Need
You won't need a full woodworking shop, but you will need a few essential tools:
Saw: A circular saw or a jigsaw will be your best friend for cutting the wood.
Drill: You'll use it to drill pilot holes for screws and hinges.
Screwdriver: A cordless drill-driver is ideal, but a manual screwdriver will work too.
Measuring tape and pencil: For marking and measuring.
Clamps: To hold the wood together while you glue and screw it.
Level: To make sure your cabinet is level.
Sandpaper: To smooth out the wood and prepare it for finishing.
Safety Glasses: Protect your eyes!
Gathering the Materials
Now, it's time to hit the lumberyard. You'll need:
Wood: You can use plywood, hardwood, or softwood. Choose a wood that's strong enough for your cabinet's weight. Plywood is often a good choice because it's relatively inexpensive and readily available.
Glass: Decide on the type and thickness of glass you need. Remember, you'll want glass that's strong enough for your needs.
Hinges: Get hinges that are strong enough to support the weight of the glass doors. You'll need at least two sets of hinges per door.
Handles: Choose handles that you like and that are strong enough to withstand frequent use.
Fasteners: You'll need screws and nails to assemble the cabinet.
Glue: Use wood glue to bond the wood pieces together.
Wood filler: To fill any gaps or holes in the wood.
Paint or stain: To finish your cabinet.
Polyurethane or varnish: To protect the finish.
Building Your Cabinet
Now, let's get down to the fun part - building!
1. Cut the wood: Follow your plans to cut all the pieces of wood you need. Use the saw carefully and accurately.
2. Assemble the cabinet: Use glue and screws to join the wood pieces together. Make sure all the corners are square and the sides are parallel.
3. Create the door frames: Cut and assemble the door frames using the same techniques as the cabinet.
4. Install the glass: This is where it gets a little tricky. Measure carefully and use a glass cutter to cut the glass to size. Always wear gloves and protective gear when working with glass!
5. Attach the doors: Use hinges to attach the doors to the cabinet. Make sure the doors open and close smoothly.
6. Install the handles: Attach the handles to the doors.
7. Finish the cabinet: Sand the cabinet and doors to smooth out any rough edges. Then, paint or stain the cabinet as you wish. Finish it with a coat of polyurethane or varnish to protect the finish.
Safety First!
Safety is always paramount. Here are a few extra tips:
Wear safety glasses: Always wear safety glasses when working with wood and glass.
Use proper tools: Make sure your tools are in good working order.
Read the instructions: Read and understand the instructions for all your tools and materials.
Work in a well-ventilated area: When using paint, stain, or varnish, work in a well-ventilated area.
Take breaks: If you're feeling tired or frustrated, take a break.
Making It Your Own
Now that you have a basic framework, let's get creative! Here are some ways to make your cabinet truly unique:
Lighting: Add recessed LED lighting to showcase your collection.
Storage: Create custom shelves and drawers to fit your specific needs.
Decorative elements: Incorporate elements like moldings, carvings, or decorative hardware to add a personal touch.
Important Considerations
Security: This is paramount. Use strong hinges and sturdy locks. Consider a lockbox for your most valuable firearms.
Regulations: Check local laws and regulations regarding the storage of firearms. Some areas have specific requirements for gun cabinets.
The Final Touch
Once your cabinet is finished, take a moment to admire your handiwork. You've created a beautiful and functional piece of furniture that will last for years to come. Remember, safety is always the top priority. Keep your firearms stored responsibly and securely. Enjoy your new gun cabinet!


No comments:
Post a Comment
Note: Only a member of this blog may post a comment.