Sharing the secrets of woodcraft, from detailed joinery to creative finishes.

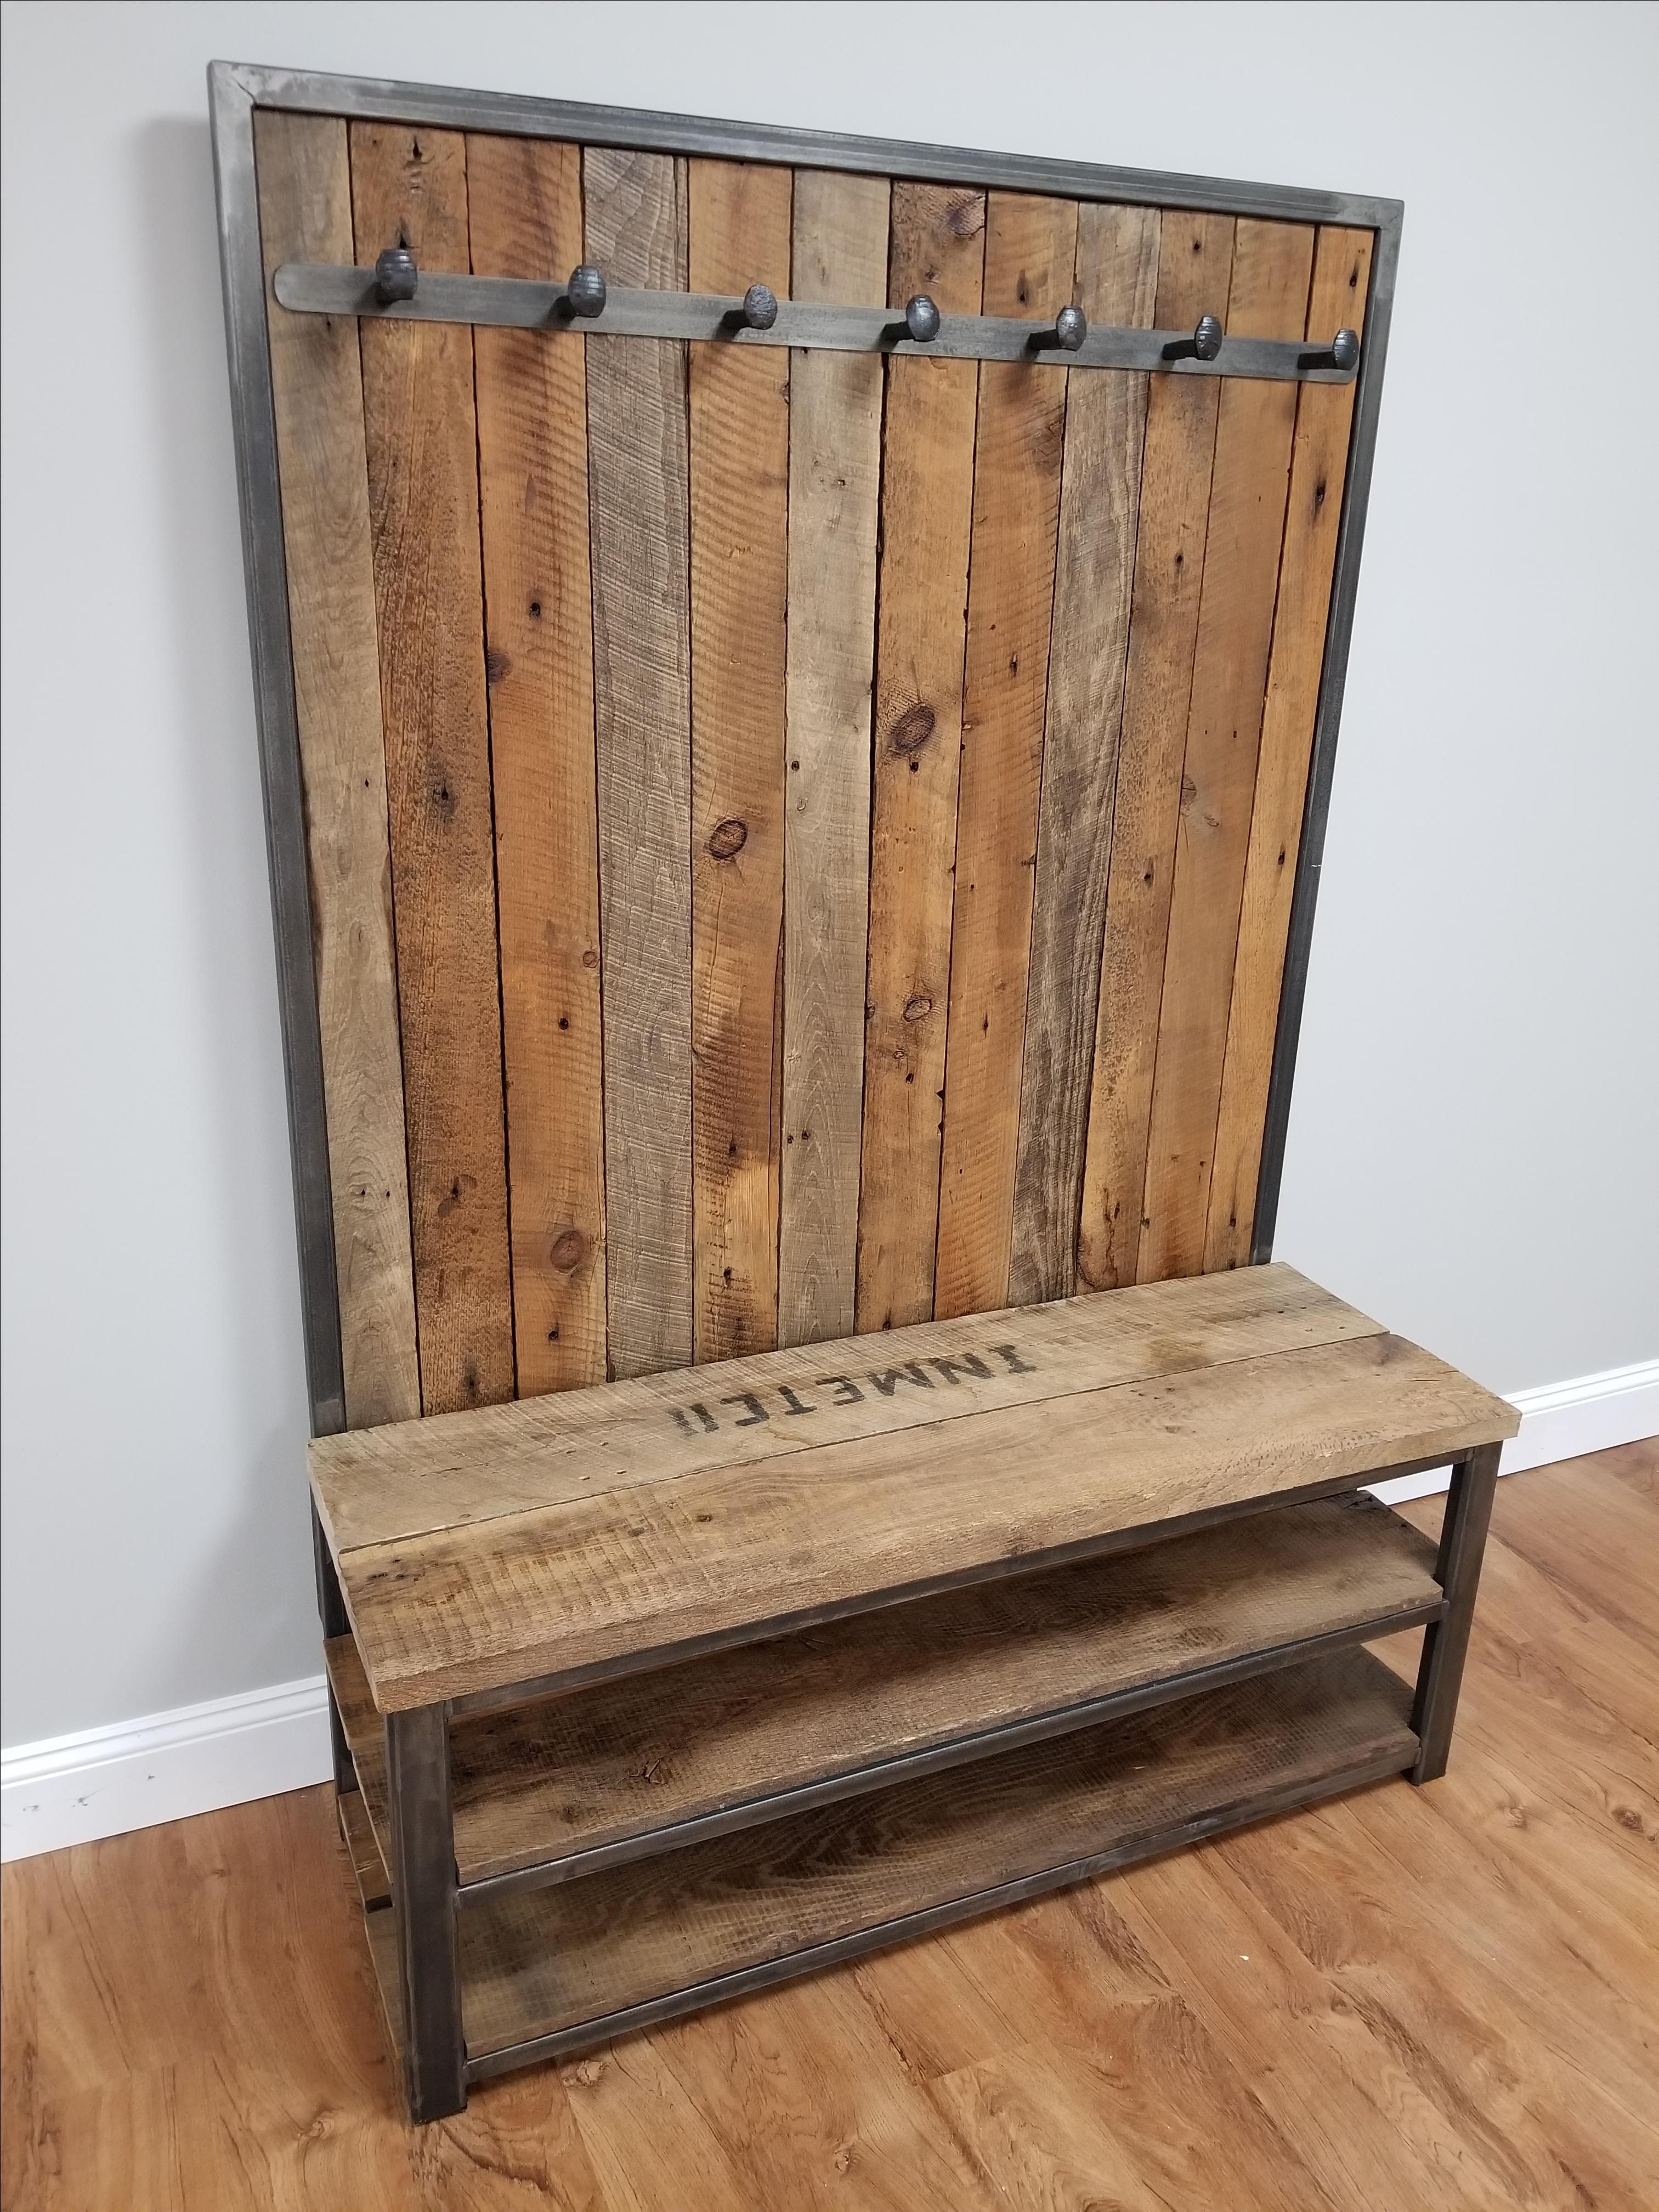
Diy wooden coat rack for your entryway

Diy wooden coat rack for your entryway


Hey there, fellow home decor enthusiast! Tired of that generic, flimsy coat rack that's been hanging in your entryway since… well, forever? Let's face it, sometimes the most satisfying DIY projects are the ones that make your home feel more like you.

Today, we're diving into a super simple, super satisfying project that'll upgrade your entryway game: Building your own wooden coat rack! No need to be a seasoned woodworker, even a beginner can tackle this project. Trust me, the only thing you'll need is a little patience, some basic tools, and a heaping dose of enthusiasm.

Let's break down the project, step-by-step:

### 1. Gather Your Supplies:

First things first, let's gather our tools and materials. We'll need:

Wood: The heart and soul of our project. Choose a nice, sturdy piece of wood, preferably hardwood for durability. You can opt for a single board or go for a more rustic look with reclaimed wood. Think about the style of your entryway and choose accordingly!
Wooden Dowels: These will be your coat hangers. You can find them in various lengths and diameters at most hardware stores.
Wood Glue: A strong bond is key!
Wood Screws: For attaching the dowels to the wood base.
Measuring Tape: For accurate cutting and placement.
Saw: A jigsaw, circular saw, or even a hand saw will work just fine.
Drill: To create pilot holes for the screws.
Sandpaper: For smoothing rough edges and achieving a polished finish.
Finishing Touches: This is where you get to unleash your creativity! Consider wood stain, paint, or even some decorative hardware to add your personal flair.

### 2. Planning Your Design:

Now, for the fun part! Let's brainstorm some design ideas. Do you want a simple, rectangular rack, or something a little more unique?

Shape: Think about how you want the rack to fit into your entryway. A long, narrow rack might work best in a small space, while a wider, more elaborate design could complement a larger foyer.
Number of Dowels: Consider the number of coats you need to hang. A few dowels can work for smaller households, while a larger family may need a rack with more hanging space.
Dowel Placement: Spacing your dowels strategically can create visual appeal and ensure that each coat hangs comfortably.

### 3. Cutting and Assembling the Base:

Once you've decided on your design, it's time to cut and assemble the base of your coat rack.

Measure and Cut: Carefully measure and cut the wood to your desired size, ensuring your measurements are accurate.
Drilling Pilot Holes: Before attaching the dowels, drill pilot holes into the wood base. This will help prevent the wood from splitting when you screw in the dowels.
Attaching the Dowels: Secure the dowels in place with wood glue and screws, ensuring they're centered and level.

### 4. Sanding and Finishing:

Time to give your coat rack a polished look!

Sanding: Sand the wood surface thoroughly with sandpaper to create a smooth, even finish. Sanding is key for achieving a polished look and getting rid of any imperfections.
Finishing Touches: Now it's time to unleash your creativity! Apply wood stain for a warm, natural finish, or paint the rack with your favorite color. You can also get creative with decorative hardware like hooks or knobs.

### 5. Mounting and Enjoy!

Once you're happy with the finish, it's time to mount your masterpiece!

Mount Your Rack: Choose a suitable wall location in your entryway and use appropriate mounting hardware. You can opt for a simple wall-mount installation, or get creative with a more elaborate mounting system.
Add Some Personal Touches: Dress up your new coat rack with some personal touches, like a small plant, a framed photograph, or a decorative bowl for keys.

Tips for Success:

Measure Twice, Cut Once: This old saying holds true for woodworking! Take your time with your measurements to ensure everything fits perfectly.
Don't Be Afraid to Experiment: This is your chance to create something unique! Get creative with your design, materials, and finishing touches.
Embrace Imperfections: Handmade items often have a bit of character, and those imperfections are part of what makes them special.

Now, sit back, admire your handiwork, and enjoy your new, personalized entryway coat rack! It's a piece that reflects your style and adds a touch of charm to your home. And you know what? Building it yourself feels incredibly rewarding. It's a DIY project that's not only functional but also a testament to your creativity and craftsmanship.

So, what are you waiting for? Gather your supplies, grab your tools, and get ready to build a coat rack that you'll be proud to showcase! And hey, if you encounter any bumps along the way, don't hesitate to reach out for help! The DIY community is always happy to lend a hand.

Share:

How to build a wooden wine rack for your kitchen

How to build a wooden wine rack for your kitchen


Hey there, wine lovers! Ever feel like your collection is starting to take over your kitchen? Maybe you’ve got bottles stacked precariously on the counter, shoved in a cabinet, or even spilling onto the floor (don't judge, we've all been there!). Well, it's time to get crafty and build a beautiful, functional wine rack that'll showcase your precious bottles.

This project is perfect for beginners and seasoned woodworkers alike. It's a great way to personalize your kitchen, and you'll be amazed at how satisfying it is to build something with your own two hands. Plus, who doesn’t love the feeling of a project well done, paired with a glass of your favorite vintage?

Let's get started!

Step 1: Gather Your Supplies

Before you head to the lumberyard, grab a cup of coffee and let's talk about what you'll need. Don't worry, I’m going to keep this simple and manageable, so you can have your wine rack built faster than you can say "Chardonnay."

Materials:

Wood: This is the foundation of your project, so choose wisely! You can use pine, cedar, or even reclaimed wood for a rustic look. I’m going with good old pine for this project because it's readily available, affordable, and easy to work with. You’ll need:
1x4 boards - You can get these at any lumberyard. They’re typically 3/4 inch thick and 3 1/2 inches wide. We'll be using these for the vertical and horizontal supports of the rack.
1x6 boards - These are a bit wider and will be used for the shelf supports that hold the wine bottles.
Wood glue: This will hold everything together strong and sturdy.
Wood screws: Choose screws that are long enough to penetrate the boards without poking out the other side. You can use 1 1/2 inch screws.
Finishing nails: These will be used to secure the vertical supports to the base, keeping things nice and tidy.
Wood stain or paint: Time to add some personality! You can stain the wood for a natural look or paint it to match your kitchen décor.
Polyurethane or varnish (optional): This will protect your finished rack from scratches and spills, keeping it looking beautiful for years to come.

Tools:

Miter saw or circular saw: This is crucial for making accurate cuts. If you don't have one, check if your local hardware store offers rental options.
Measuring tape: This is your best friend for precise measurements.
Pencil: This will be used for marking cuts.
Clamps: These will hold the pieces together while you glue and screw them.
Drill: Make sure you have drill bits that are the right size for your screws.
Hammer: This will be used to drive the finishing nails.
Sandpaper: This will smooth out any rough edges and create a beautiful finish.

Step 2: Planning and Measuring

Before you start swinging that saw, it’s important to plan and measure carefully.

Think about size: Consider how much space you have in your kitchen and how many bottles you want to store. Do you want a small, wall-mounted rack or a larger, free-standing one?
Decide on the number of shelves: This depends on how many bottles you have.
Sketch a design: Drawing a simple sketch will help you visualize the final product and determine the dimensions of each piece.

Here's a basic design:

Base: Measure the desired width and length of your wine rack. Remember, you'll be adding the width of the vertical supports to the overall width of the rack.
Vertical supports: These will be the same height as the rack and will be placed at the desired distance apart to create the shelves.
Shelf supports: These are horizontal pieces that sit on top of the vertical supports and hold the wine bottles. They'll need to be long enough to accommodate the width of your rack.

Step 3: Cutting the Wood

Safety First! Always wear safety glasses and ear protection when using power tools.

Cut the base: Use your saw to cut the 1x6 board to the desired length and width of the base.
Cut the vertical supports: Cut two pieces of 1x4 board to the height of your wine rack. These will be the sides.
Cut the shelf supports: For each shelf, cut two pieces of 1x4 board to the desired length of the shelf.

Tip: Be precise with your cuts. A miter saw will help you achieve clean, 90-degree angles, but a circular saw can also do the job if used carefully.

Step 4: Assembling the Rack

Attaching the vertical supports: Apply a bead of wood glue along the inside edges of the base. Place the vertical supports against the base, ensuring they are flush with the edges. Secure them with screws and finishing nails.
Attaching the shelf supports: Apply wood glue to the top of the vertical supports and place the shelf supports on top. Make sure they are aligned with each other and secure them with screws.
Repeating the process: Continue attaching the shelf supports for each level of your wine rack.

Tip: Use clamps to hold the pieces together while the glue dries. This will ensure a strong and lasting bond.

Step 5: Finishing Touches

Sanding: Sand down any rough edges or imperfections with sandpaper.
Staining or painting: Apply wood stain or paint to your rack to achieve the desired look. Let it dry thoroughly.
Adding a protective finish: If you want to protect your wine rack from spills and scratches, apply a layer of polyurethane or varnish. Let it dry completely before using your rack.

Step 6: Enjoy Your New Wine Rack!

Congratulations! You’ve successfully built a beautiful and functional wine rack. Now, go ahead and fill it with your favorite bottles. Invite your friends over for a wine tasting, and impress them with your DIY skills!

Bonus Tip: If you're feeling ambitious, you can get creative with your wine rack design. Consider adding decorative elements like latticework, molding, or even a bottle opener holder.

Remember, this project is about having fun and creating something unique. So don't be afraid to experiment and personalize your wine rack to your liking.

Cheers to your new wine rack, and happy crafting!

Share:

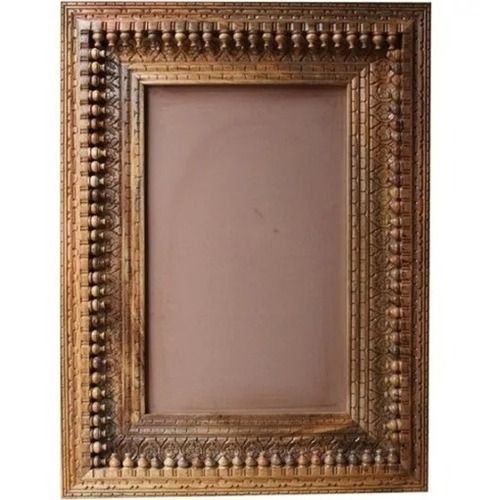
Build a wooden picture frame to showcase your favorite photos

Build a wooden picture frame to showcase your favorite photos

Alright, let's get our hands dirty and build a picture frame! You know how it is, you've got these amazing photos gathering dust on your phone, just begging to be showcased. And what better way to do that than with a handcrafted wooden frame? It's not rocket science, trust me. In fact, it's a fun little project that even a DIY novice can tackle. Plus, it's super satisfying to see your finished product, holding those special memories.

Let's talk tools first. You don't need a whole woodworking shop to make this happen. You'll be fine with the basics:

A saw: A handsaw will do the trick, but a miter saw will make things a whole lot easier, especially if you want those perfect 45-degree angles for a fancy mitered frame.
Sandpaper: You'll need some grit for smoothing out the rough edges.
A measuring tape: You'll need this to get the dimensions right.
A pencil: For marking those cuts.
Wood glue: To stick everything together.
Clamps: To hold your frame together while the glue dries.
A screwdriver or drill: If you plan on using screws or nails.
Optional: A router, if you want to add some fancy edges.

Now for the wood itself. Think about the photos you want to display. Do you want a simple, rustic frame? Go for some rough-cut pine. Want something more elegant? Maybe mahogany or walnut.

Once you've got your tools and wood, you can start the fun part: designing your frame.

Measure your photo. This will determine the overall size of your frame.
Decide on your frame thickness. You can go with a simple 1/2 inch thick frame, or you can go thicker for a more substantial feel.
Choose your frame style. You can do a simple rectangular frame, a mitered frame with angled corners, or you can get fancy with a more elaborate design.

Let's say you're going with a simple rectangular frame.

1. Cut your wood pieces. Using your saw, cut four pieces of wood to the same length. These will be the sides of your frame. Then, cut two pieces of wood to the width of your photo. These will be the top and bottom of your frame.
2. Sand the edges. Use sandpaper to smooth out the rough edges of your wood pieces. This will make your frame look much nicer and prevent splinters.
3. Assemble the frame. Use wood glue to join the pieces of wood together. You can also use small nails or screws, especially if you're going with a thicker frame. Make sure to apply even pressure and clamp the frame together until the glue dries.
4. Finishing touches: You can stain or paint your frame after it dries. This will give your frame a more polished look and protect the wood.
5. Add your photo. Once the frame is dry, you can put your photo in place.

And there you have it! You just built a wooden frame for your favorite photos.

Here are some ideas to make your frame even more special:

Go for a distressed look: You can create a weathered, rustic look by sanding the wood with steel wool, applying a coat of paint, and then sanding it off in certain areas.
Add decorative elements: Get creative with wood burning, etching, or even decoupage to personalize your frame.
Make it functional: You could add a kickstand to the back of the frame, so it can stand on its own.
Get fancy with the back: Instead of using cardboard, make a backing for the frame from a patterned fabric or a piece of wood with a contrasting color.

And let's talk about those pictures you're framing! You can go with a theme, like a collection of landscape shots from your last road trip, or a series of portraits of your favorite people. Or maybe you just want to frame that hilarious photo of your cat wearing a tiny hat. Whatever it is, make it personal!

Building a picture frame might seem like a small thing, but it's really about celebrating the moments that matter. When you look at that finished frame, with its carefully chosen photos, you're not just admiring the craftsmanship. You're remembering those special moments, those little victories, those laughs shared with the people you love. It's a reminder of the stories you're creating, and the legacy you're building, piece by piece.

So, pick up your tools, grab some wood, and start building! You never know, you might discover a hidden talent for woodworking, or at the very least, have a whole lot of fun. And remember, the beauty is in the details, so don't be afraid to let your creativity flow! Happy framing!

Share:

Build a wooden wall shelf with a rustic charm

Build a wooden wall shelf with a rustic charm


Hey there, DIY enthusiasts! Ever felt like your walls were begging for some character? Like they needed a touch of rustic charm to really bring the whole room together? Well, buckle up, because today we're diving headfirst into the world of woodworking and building a wall shelf that'll have everyone saying, "Wow, did you make that?"

Now, before you go all "I can't even build a birdhouse," hear me out. This project is way easier than you think, even if you're a newbie to the world of saws and hammers. We're aiming for rustic, remember? That means imperfections are our friends. So, if your cuts aren't perfectly straight or your paint job has a few happy accidents, it just adds to the charm!

Let's start by gathering our supplies. We'll need:

Wood: Choose reclaimed wood if you're feeling adventurous, or opt for some affordable pine or cedar. We're going for that weathered, old-world look, so don't worry about finding perfectly smooth planks. Embrace the knots and imperfections! Aim for boards about 1" thick and 6" wide. You'll need enough to create your desired shelf length.
Brackets: These will hold your shelf in place. Rustic iron brackets add a touch of industrial chic, while simple wood brackets keep things classic. It's all about personal style.
Screws: Heavy-duty screws will make sure your shelf is securely attached to the wall. You'll need screws long enough to go through the brackets and into the wall.
Wood glue: A little extra bonding power never hurts.
Sandpaper: Sanding is a must to smooth out any rough edges and prep the wood for paint or stain.
Paint or stain: This is where you can unleash your creativity. A dark stain will enhance the natural wood grain, while a rustic white paint will give it a vintage farmhouse feel.
Measuring tape, pencil, level, and saw: These are your trusty companions for precise cuts and accurate placement.

Now, let's get down to business.

Step 1: Designing Your Shelf

First things first, decide on the dimensions of your masterpiece. How long do you want your shelf to be? How many shelves are you dreaming of? Remember, you can always create multiple shelves in different sizes to create a dynamic wall display. Just make sure you factor in the weight of the items you'll be placing on the shelf. A sturdy construction is crucial for avoiding embarrassing shelf collapses!

Step 2: Cutting the Wood

Time for the exciting part (or maybe just the slightly nerve-wracking part)! Using your saw, carefully cut your boards to the desired lengths. Remember, aim for a rough, rustic look. Perfectly straight cuts aren't necessary. And if you're lucky enough to find a piece of reclaimed wood with a unique shape or a cool natural curve, embrace it!

Step 3: Sanding and Finishing

Next, we're going to smooth out those rough edges and give our shelf a beautiful finish. Using your sandpaper, gently sand down the surfaces and edges of your boards. This step helps create a smoother surface for paint or stain and makes the shelf more comfortable to touch.

Step 4: Choosing Your Finish

Now for the fun part: adding some personality to your shelf! You can go for a natural wood look by simply applying a clear sealant, or you can unleash your creativity with paint or stain. A dark stain will enhance the natural grain of the wood, while a rustic white paint will give it a vintage farmhouse feel. If you're feeling adventurous, try combining different colors or using a paint technique like distressing to create a unique look.

Step 5: Assembling the Shelf

Once your finish is dry, it's time to assemble the shelf. Carefully place the brackets on the wall using a level to ensure they're straight. Use a pencil to mark the screw locations on the wall. Drill pilot holes into the wall to make it easier to screw in the brackets.

Step 6: Attaching the Shelf

Now comes the moment of truth! Use your screws to attach the brackets to the wall. Make sure the screws are long enough to go through the brackets and into the wall securely. Finally, gently place the shelf on the brackets.

Step 7: Admire Your Work!

There you have it! Your rustic wall shelf is complete. Now it's time to style it with your favorite books, plants, and decorative items.

Tips for a Rustic Look:

Embrace imperfections: Let those knots and rough edges show. It's all part of the charm.
Consider distressed paint: This creates a vintage, lived-in look. You can achieve this by sanding down the paint after it's dry to expose the wood underneath.
Incorporate natural elements: A sprig of dried lavender, a small piece of driftwood, or a miniature succulent adds a touch of nature to your display.
Mix and match textures: Combine different materials, such as metal, wood, and glass to create a more dynamic and interesting look.
Don't be afraid to experiment: Let your creativity run wild! There are no rules in rustic design.

And there you have it! Building a rustic wall shelf is a project that's both fun and rewarding. It's a great way to add personality to your home and display your favorite items in style. So grab your tools, unleash your creativity, and get ready to enjoy the process of creating something beautiful and unique. Happy building!

Share:

Build a wooden front door sign to personalize your home

Build a wooden front door sign to personalize your home


Okay, so you're looking to personalize your home, right? You want something that screams "This is my place, come on in and have a good time!" and maybe even gives a little hint about the awesome people who live inside.

Well, guess what? A front door sign is your new best friend! It's like the welcome mat, but way more expressive. It's your chance to shout your personality from the curb. But how do you go from blank wood to a masterpiece? Buckle up, because we're about to dive into the world of DIY door sign creation!

First Things First: The Wood

You want something sturdy, something that'll last through all kinds of weather. Reclaimed wood? Awesome! Gives it that "lived-in" feel. New wood? Perfect too! Just make sure it's thick enough to hold your design. Think of it like this: A sign is like a canvas, and the wood is your base.

The Design: Where Your Personality Shines

This is your chance to let loose! Do you have a love for animals? Maybe a quirky saying? Or maybe you just want to keep it simple and sweet? Here's the deal: There are no wrong answers.

Here's a quick breakdown of design styles:

The Classic: Think "Welcome" or "Home Sweet Home." This is the reliable friend you can always count on. Clean, simple, timeless.
The Witty: This is for the people who love to make people chuckle. Think "Welcome to the party" or "Caution: This house is full of love (and maybe a bit of chaos)."
The Nature Lover: Bring the outdoors in with a floral design, a cute little bird, or even a scenic mountain view.
The Personal Touch: Add your family name, the year you built your home, or a special quote that resonates with you.

Now, Let's Get Creative!

Alright, design in hand, let's make this thing happen! You've got a few options here:

The Hand-Painted Masterpiece: This is where you grab your brushes and let your inner artist run wild. You can use acrylic paint, chalk paint, or even a little bit of both.
The Stencil Superstar: Stencils are your best friend for those crisp, clean lines. You can find pre-made stencils, or even create your own if you're feeling ambitious.
The Vinyl Wonder: Vinyl lettering is like a magical sticker for your wood. It comes in a ton of colors and fonts, so you can get super creative.
The Wood-Burning Wonder: For a rustic vibe, try woodburning. It's a bit like drawing on wood, but with a hot iron tool.

Finishing Touches: Let's Make It Shine

Alright, your sign is looking amazing! Now, let's give it that extra "oomph" with a few finishing touches:

The Stain Game: A coat of wood stain will enhance the natural beauty of your wood and add some depth.
The Protective Layer: Seal your sign with a clear coat (varnish or polyurethane) to protect it from the elements.
The Hardware Hocus-Pocus: Choose the right hardware to hang your sign. Think about your style and the weight of your sign.

Hanging It with Love

Finally, it's time to hang your masterpiece! Measure twice, cut once, and make sure that sign is hanging straight and proud!

The Final Word: Make it Yours!

Remember, this is your sign. Let it reflect your personality, your home, and the stories you have to tell. Have fun with it, experiment, and don't be afraid to get a little messy. Because in the end, the most important thing is that you love the way your front door sign looks and feels.

Share:

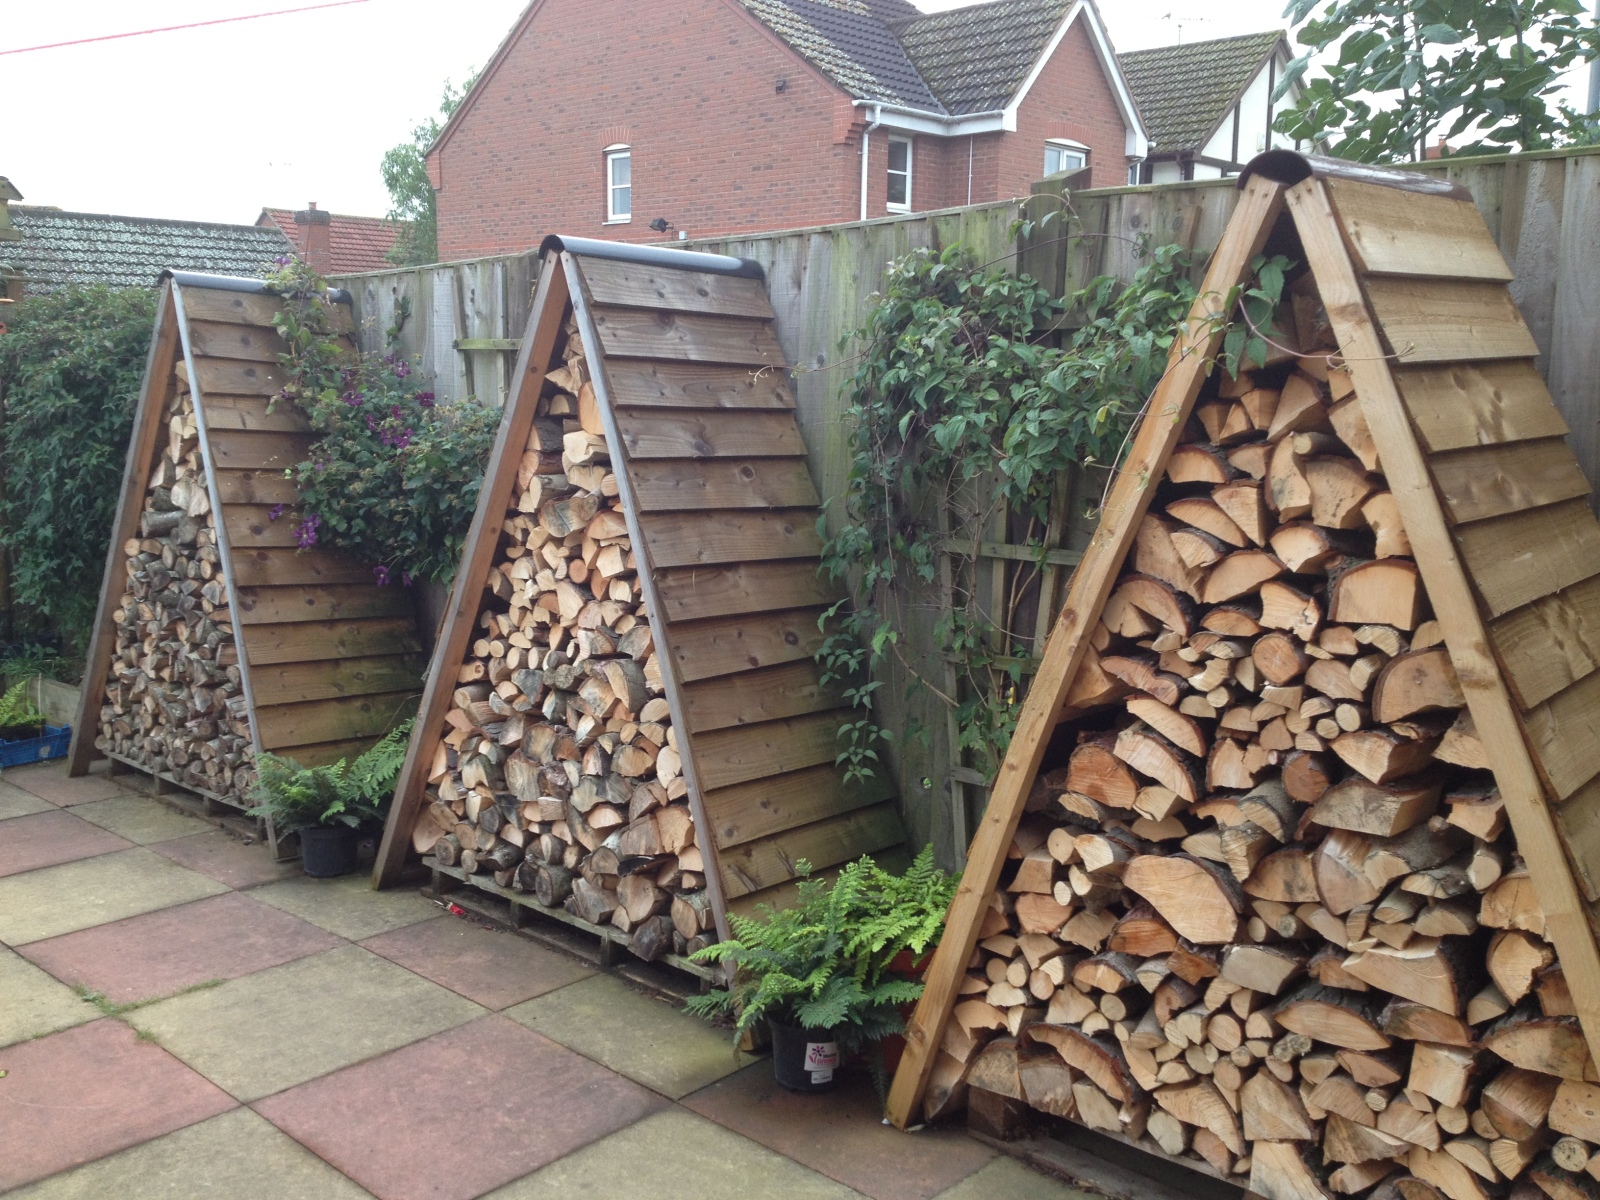
How to build a diy wooden firewood rack for your fireplace

How to build a diy wooden firewood rack for your fireplace

Alright, fire-lovers, let's talk firewood! We all know that feeling: crisp autumn air, leaves crunching underfoot, and that cozy fireplace calling your name. But what good is a crackling fire without a proper stash of wood to keep it going?

Building your own firewood rack is a great way to add some rustic charm to your home, keep your wood organized, and get a little DIY satisfaction. Plus, it's a lot easier than you think. You can easily build it yourself, even if you’re not a seasoned carpenter.

Let's gather our supplies:

First things first, let's get our materials ready. We're talking about a simple yet sturdy firewood rack here, so don't worry, we're not diving into rocket science.

Lumber: You'll need some good, solid lumber for the main structure. Pine or cedar are great options because they're affordable and easy to work with. You'll probably need around 8-10 feet of 2x4s for the frame and 6-8 feet of 1x4s for the shelves.

Screws: Choose some heavy-duty screws, preferably longer than the thickness of your lumber.

Wood glue: A little wood glue will add extra strength to your joints.

Optional: Stain or paint: Want to give your rack a personal touch? A nice stain or paint can really make it pop.

Now, let's get to work:

1. Plan the size: Think about where you want to place your rack and how much wood you need to store. A good starting point is a rack that’s about 3 feet wide and 3 feet tall. You can adjust the length to suit your space and needs.

2. Cut the pieces: With your trusty saw (or if you’re like me and don't own a saw, head to a lumber store where they can do the cutting for you!), cut your 2x4s into these pieces:

4 pieces for the bottom frame (each about 3 feet long)
4 pieces for the top frame (each about 3 feet long)
4 pieces for the legs (each about 3 feet long)
4 pieces for the supports (each about 2.5 feet long)

For your 1x4s, cut:

4 pieces for the shelves (each about 3 feet long)

3. Assemble the frame: This is where the fun (and maybe some minor frustration) begins. Lay the 4 bottom frame pieces out on a flat surface and connect them to form a rectangle, using screws and wood glue. Repeat this process for the top frame. Make sure the frames are perfectly square!

4. Attach the legs: Now, take your 3-foot leg pieces and screw them into each corner of the bottom frame, making sure they’re perpendicular to the frame.

5. Install the supports: To create spaces for your firewood to rest, you'll need supports. Place your support pieces vertically on the bottom frame, spaced evenly along the length of the rack. Secure them with screws and glue.

6. Add the shelves: Now, it's time for your 1x4s. Attach the shelf pieces horizontally to the support pieces, creating your firewood shelves.

7. Optional: Stain or paint: If you want to give your rack a bit of personality, now is the time. Give it a good sanding to smooth out any rough edges, and then apply your stain or paint.

8. Let it dry: If you used stain or paint, let it dry completely before you move your rack into place.

Time to put it all together:

There you have it! You’ve just built your very own, completely awesome firewood rack.

Now, let’s talk about some cool ways to make your rack stand out:

Mix and match wood types: If you're feeling creative, try using different wood types for the frame, legs, and shelves. A little bit of contrast can add visual interest.

Go rustic: Embrace the natural beauty of wood! You can give your rack a rustic touch with a weathered finish, a distressed look, or even by leaving some knots and imperfections in the wood.

Make it mobile: Add casters to the bottom of your rack so you can easily move it around to different spots. Perfect for rearranging your living room or moving the firewood closer to the fireplace.

Accessorize! Add some hooks for tools, a basket for kindling, or even a chalkboard to label your wood types.

Safety Tips:

Location, location, location: Place your rack in a well-ventilated area away from any heat sources like your fireplace or furnace.

Fireproof: Make sure the floor underneath your rack is protected from sparks or embers. Use a fire-resistant rug or mat.

Keep it dry: Storing damp wood can lead to mold and mildew, not to mention making it harder to get a fire going.

Now that you've got your own amazing firewood rack, go forth and build some awesome fires! Let those flames roar! And if you're looking for inspiration, don't forget to check out online tutorials and resources for even more ideas. You've got this!

Share:

How to build a wooden porch swing for your front yard

How to build a wooden porch swing for your front yard


Okay, picture this: you're sipping lemonade on a lazy summer afternoon, the sun warm on your face, and you're gently rocking on a porch swing. Sounds pretty darn idyllic, right? Well, you can make that dream a reality with a little bit of elbow grease and a whole lot of love for DIY.

Building a porch swing isn't as daunting as it seems. Sure, it involves some woodcutting and nailing, but with the right tools and a little patience, you can create a piece of furniture that will be the envy of your neighborhood. And the best part? You can make it your own by customizing the design, adding your personal touch to each step.

Gathering Your Materials

First things first, you'll need to gather your supplies. You're going to be working with wood, so a trip to your local lumberyard is a must. Here's a basic shopping list to get you started:

Lumber: You'll need some sturdy lumber for the swing's frame. Choose a wood that's known for its strength and durability, like cedar, redwood, or pressure-treated pine. You'll need:
Four long boards for the swing's sides
Two shorter boards for the top and bottom rails
Some 2x4s for the supports and bracing
Hardware: You'll need screws, bolts, washers, and nuts for assembly.
Rope or chain: This is what will hold your swing up. Choose a strong, durable rope or chain that can handle the weight of you and your guests.
Paint or stain: To protect your swing and give it a beautiful finish, you'll need some paint or stain.
Swing seat: You can get creative here! You can build your own seat out of wood planks, or purchase a pre-made swing seat that fits your style.

Laying the Foundation: Building the Frame

Now, the fun part begins! Start by assembling the frame, the backbone of your swing. This is where those long boards come into play. You'll be creating a rectangular frame, similar to a large picture frame, with the top and bottom rails connecting the sides.

Cut your lumber: Before you start assembling, measure and cut all your boards to the desired size. You'll want to make sure your frame is wide enough to comfortably fit you and a friend or two.
Join the sides: Use screws or bolts to connect the side boards at the top and bottom, creating the two sides of the frame. Make sure your corners are square and secure.
Attach the top and bottom rails: Now, attach the top and bottom rails to the side boards, creating a sturdy rectangle.
Reinforce with bracing: To make your frame super strong, add some bracing to the inside corners. This will help distribute the weight evenly and prevent warping.

Time for the Swing Support

Once your frame is assembled, it's time to build the support that will hold your swing. This is where those 2x4s come in handy. You'll be creating two strong, sturdy legs that will support the frame.

Cut the legs: Cut two long 2x4s to a length that will allow the swing to hang at the desired height. You'll want to make sure the swing is high enough to comfortably sit in and low enough to avoid hitting your head on the porch roof.
Attach the legs to the frame: Securely attach the legs to the bottom of the swing frame. You can use screws or bolts, and you'll want to make sure the legs are firmly attached and level.

Hanging Your Seat

Now, you're ready to hang your swing! If you've built your own seat, this is a great time to attach it to the frame. If you're using a pre-made seat, you can skip this step.

Choose your hanging system: Decide whether you want to use rope or chain to hang your swing. Both have pros and cons. Rope is a little more flexible and forgiving, while chain offers more strength and durability.
Attach the hanging system: Drill holes in the top of your frame for attaching the rope or chain. Make sure the holes are drilled in the right spot, so the swing hangs evenly.
Attach the seat: If you've built your own seat, you can attach it to the rope or chain using strong, sturdy bolts or hooks.

Adding the Finishing Touches

You've created a sturdy, beautiful swing frame! Now it's time to give it a final touch of love.

Paint or stain: Apply your chosen paint or stain to protect the wood and enhance its beauty. Choose a color that complements your porch and style.
Add cushions: For maximum comfort, add some plush cushions to your swing seat. Choose colors and patterns that reflect your personal style.
Decorate your porch: To complete the scene, decorate your porch with some charming accessories, like potted plants, lanterns, or throws.

Sitting Back and Enjoying Your Labor of Love

Congratulations, you've just built a beautiful, custom-made porch swing! Now all that's left is to kick back, relax, and enjoy the fruits of your labor. Invite your friends and family over, share a laugh, and soak up the sunshine on your new swing. Remember, building a porch swing is about more than just creating a piece of furniture. It's about building a space for connection, relaxation, and creating memories that will last a lifetime.

Safety First

While building a porch swing is a fun and rewarding project, it's important to remember safety. Always follow the manufacturer's instructions for the materials you are using. Wear safety glasses and gloves, and use caution when working with power tools. It's a good idea to have an experienced DIYer help you if you are unsure about a step.

Additional Tips

Get creative with your design: You can customize your porch swing by adding decorative elements, like carved details or latticework.
Think about your porch: Make sure the swing is a good fit for your porch, and consider the size and location of your porch before starting.
Don't be afraid to ask for help: If you're new to DIY projects, don't be afraid to ask for help from a friend or family member who is more experienced.

Building a porch swing is a rewarding project that can add a touch of charm and functionality to your home. With a little effort, you can create a piece of furniture that will be enjoyed by generations to come. So grab your tools, gather your supplies, and let's get building!

Share:

Popular Posts

Search This Blog

Powered by Blogger.

Recent Posts

Sample Text


Pages